Module Repair
Automotive module repair involves the diagnosis, repair, and reprogramming of electronic control modules (ECMs) or electronic control units (ECUs) that manage critical vehicle functions. These modules play a vital role in ensuring optimal performance of systems such as the engine, transmission, air conditioning, anti-lock brakes, airbags, and more.
By addressing issues with these electronic components, our module repair services help restore functionality, improve vehicle performance, and extend the lifespan of your vehicle’s systems.

Commonly Repaired Modules:
Our module repair services cover a wide range of essential vehicle control units, including:
MERCEDES-BENZ
EIS Electronic ignition switch repair /clone
W164 W166 W169 W172 W179 W204 W207 W209 W211 W212 W216 W218 W221 W246 W251 W463 W202 W203 W208 W209 W210 W215 W220 W230 W463 W906
ESL Electronic steering Lock repair/bypass
ISM/DSM/ESM CLONE/VIRGINIZE
TCU/TCM
VGS3-NAG2 (7G-Tronic )
VGS-FDCT/
VGS2-FDCT
VGS4-NAG2(7G-Tronic )
VGS NAG3 (9G-TRONIC)
HEAD UNIT/COMAND RADIO WITH NAVIGATION DISPLAY REPAIR
NTG4.5,NTG4.7 NTG5.1,NTG5.2,NTG5.5,NTG6 MBUX,NTG7
BMW/MINI
CAR ACCESS SYSTEM CAS: CAS2,CAS3.CAS3+,CAS4
FOOTWELL MODULE REPAIR (FRM3 )
FEM/BDC CLONING
6HP EGS EWS REST E SERIES
6HP EGS EWS REST F SERIES
8HP EGS EWS REST F.G SERIES
Porsche
BCM L115Y,2M25J,3M25J,5M48H,1N35H
Audi
BCM2
ESL J518 3L40K
ESL J5180L01Y
Land Rover
BCM
KVM
Ferrari
BSI 4L91N,1K79X
Volvo
CCM 1,2
Dodge/Jeep/Chrysler
SKIM/SKREEM Module
WIN Module
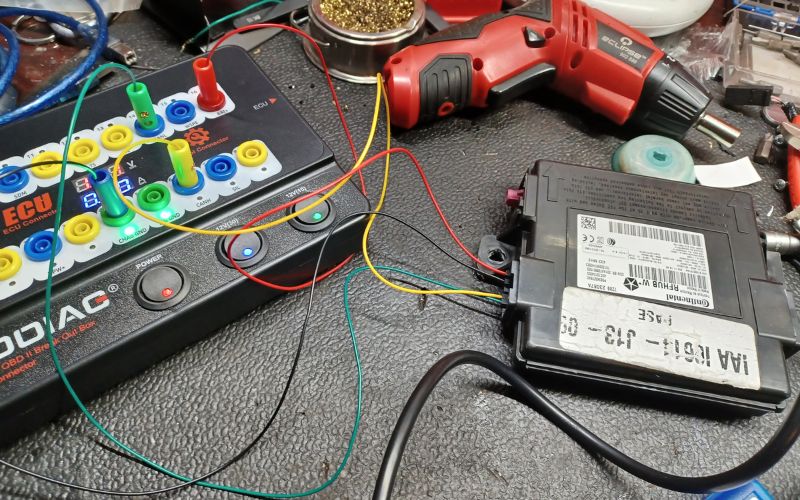
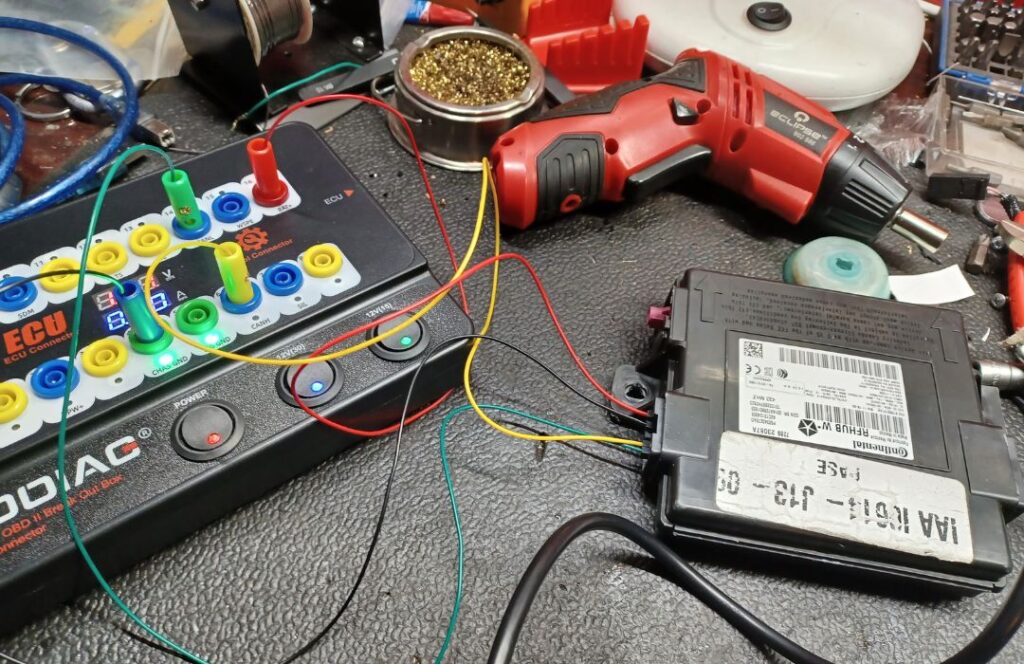
RF Hub
The 5 Key Steps in Automotive Module Repair

1. Diagnosis
The first step in automotive module repair is diagnosis, where advanced diagnostic tools, such as OBD-II scanners, are used to detect error codes or system faults. This process helps pinpoint potential issues, including wiring problems, sensor failures, or physical damage to the module. Accurate diagnosis is crucial for determining the root cause of the problem.
2. Inspection
Next is inspection, which involves a thorough examination of the module for physical damage such as corrosion, burnt components, or loose connectors. Wiring harnesses and connections are also inspected to ensure there are no underlying faults contributing to the issue.


3. Repair
Once the problem is identified, the repair phase begins. This may include replacing damaged electronic components, such as resistors or capacitors, on the circuit board. Corroded connections are cleaned and restored to ensure proper functionality. Software or firmware issues are also addressed by reprogramming or updating the module to resolve any errors.
4. Testing
After repairs are complete, the module undergoes testing to verify that all systems are functioning correctly. The repaired module is reinstalled, diagnostic trouble codes are cleared, and vehicle tests are performed to ensure the issue has been fully resolved.


5. Reprogramming
If required, reprogramming is the final step. This involves using manufacturer-specific software to reprogram the module, ensuring it is fully compatible with the vehicle’s systems. This may include flashing the module’s firmware with updated or original settings for optimal performance.

 (647) 704-7506
 (647) 704-7506